
Overview
Thank you for deciding to do polling place vote tripling or vote tripling pledge collection, and thank you for taking sticker production into your own hands!
We have experience creating and printing our own stickers at home and with a local vendor, so this is our guide on how to get your own sticker operation up and running.
NOTE: Don’t wait until the last minute! It can take at least 24 and as many as 96 hours to get things delivered, so plan on ordering or printing your stickers early!
Printing at home
Determining your sticker and sticker size
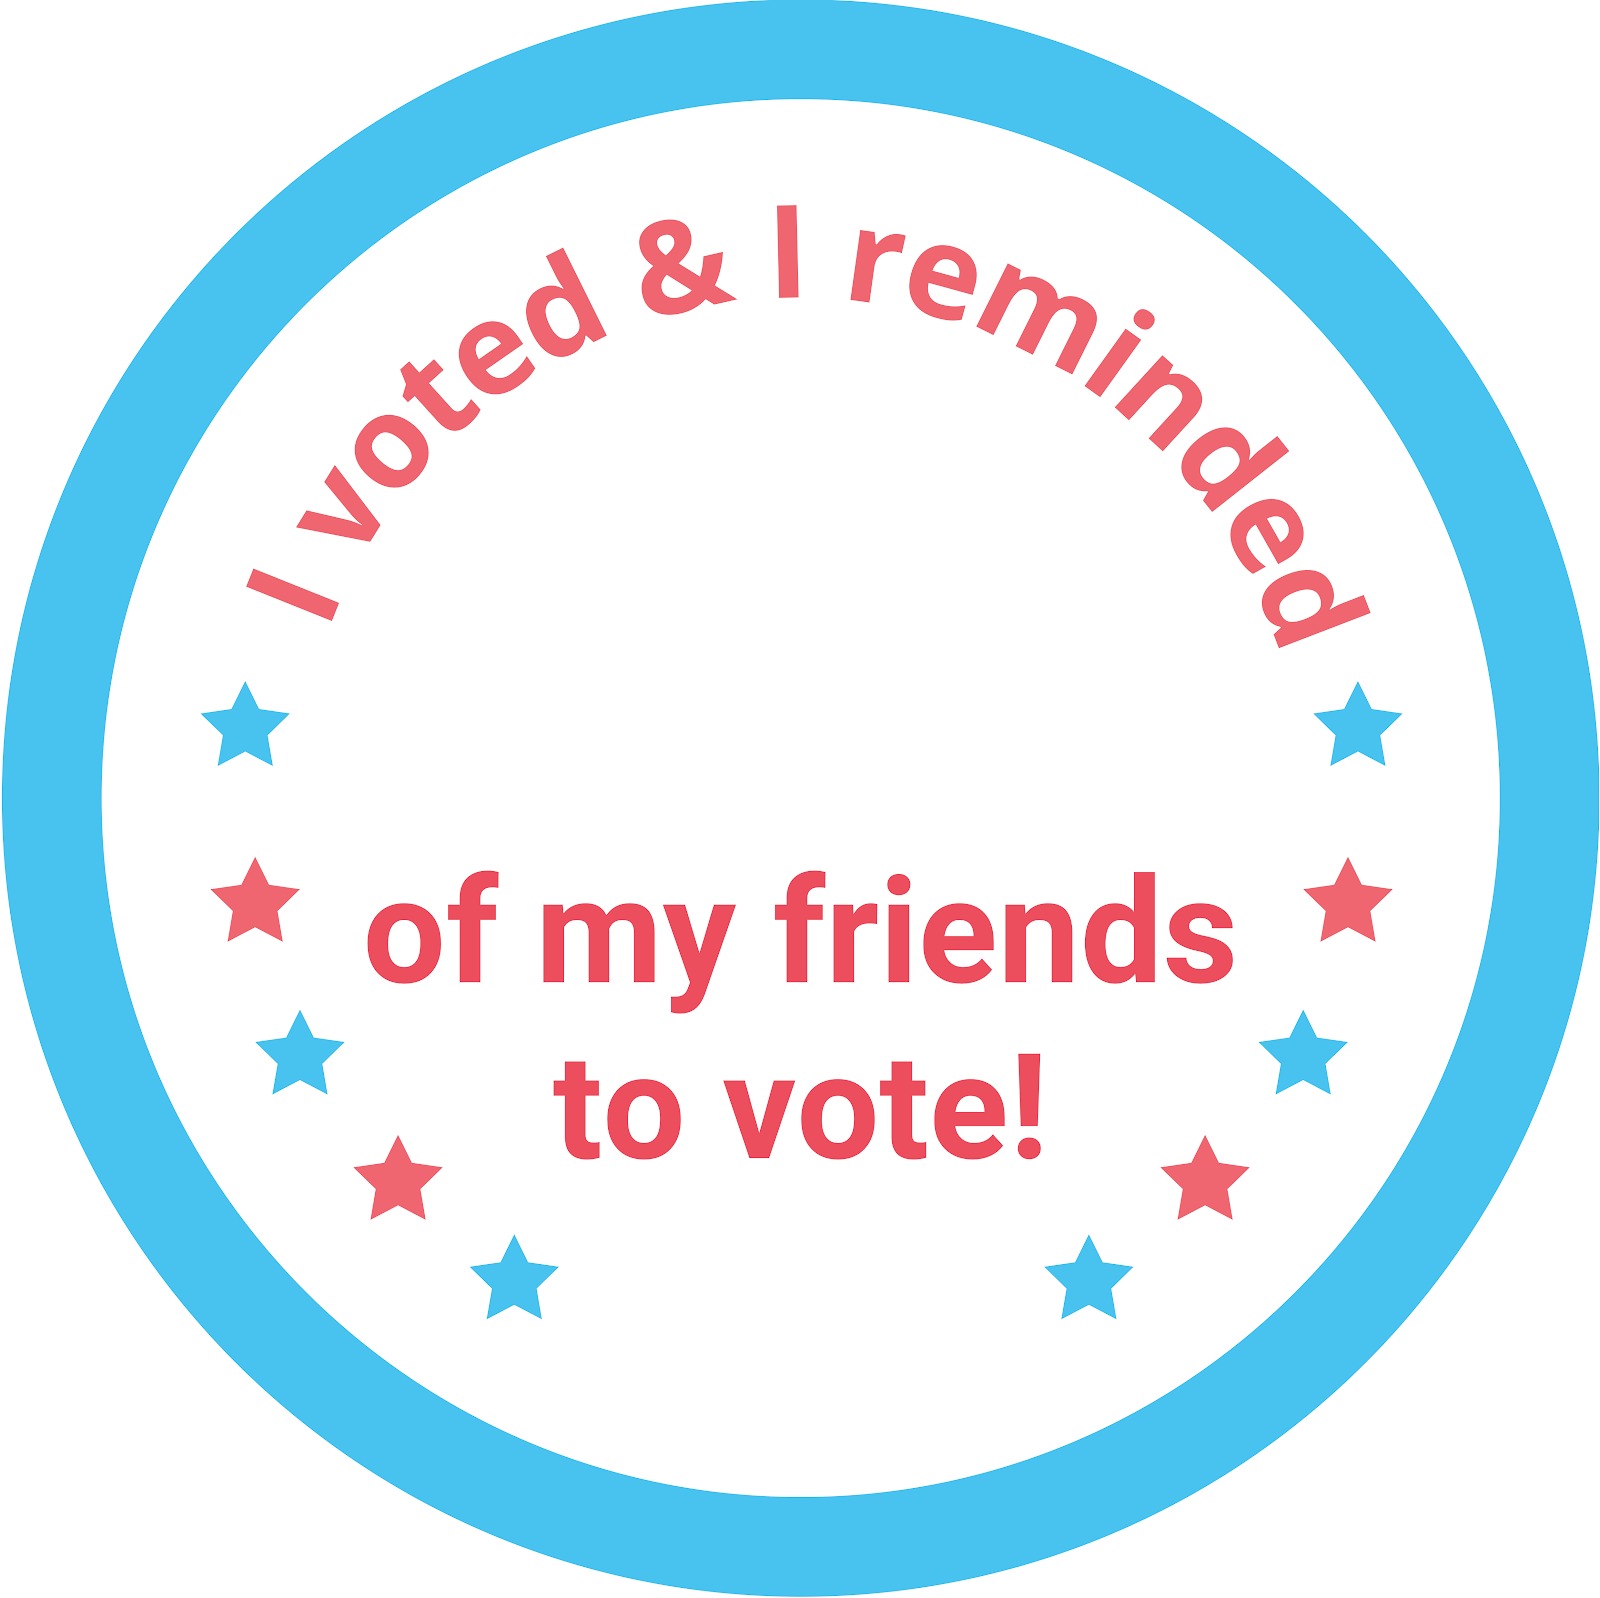
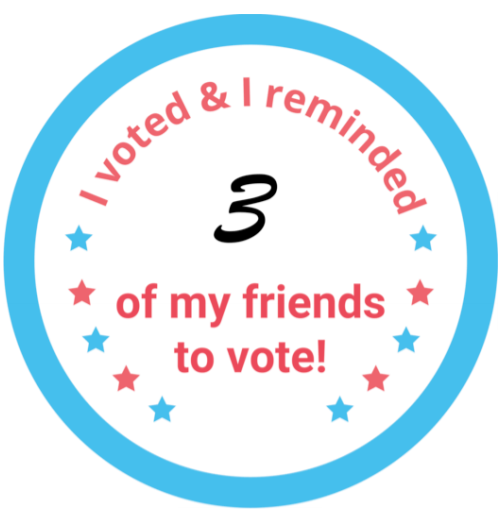
Which sticker design and sticker size you select will determine which sticker sheet you should order. In our experience, 2.5” round labels work best; however, we have both 2.5” and 2” stickers available at nine and 12 per sheet respectively.
Alternatively, you can make any other size on the Avery website. Upload your image, and select what sticker count and size you’d like to do.
STANDARD STANDARD W/#
Purchase your sticker sheets
Use the conversion of 40 stickers (if doing polling place vote tripling, voter registration, or high-traffic pledge collection) or 12 stickers (if doing canvassing) per hour to decide how many stickers you need. For example, if you are covering two shifts of high-traffic pledge collection, you should buy at least 80 stickers! For 2.5” stickers we suggest these sticker sheets and for 2” we recommend these sticker sheets. Equivalent sticker sheets should be fine, just make sure the stickers’ size and amount per sheet match.
Prepare your document for printing
Open your sticker file before printing to ensure that there are no issues with it. If you are using our PDFs, you should be able to print with no issue (make sure that your printer is set for an 8.5”x11” sheet); however, making your own template, either through Avery or another service, merits checking the PDF or Word document to ensure everything lines up.
Print your stickers
Check which way your print feeds paper by marking one side and printing something out. The mark should coincide with the side that has been inked. Once you’ve determined which way your printer feeds paper, load your sticker sheet so that the side with the stickers will print out correctly. Your printer should not require any adjustments. Open your PDF or Word document and print only one sheet as a test. If the test page comes out okay, print out the rest and enjoy your new stickers!
Printing in store
Determine your printer
While more expensive, a professional printer can give you more peace of mind. Your local union printer is the best option followed by a place like Staples.
Determine your sticker quantity
As above, we recommend calculating the needed number of stickers beforehand (see above discussion for conversion amounts). Call the store to i) see if you need to provide sticker sheets, ii) get a price estimate, and iii) get a delivery estimate.
Send in your design and place your order
Ask the store if they prefer an individual image or a sheet. Provide as needed. Staples requires ordering online, so have the store technician explain how they need the file inputted.
Have your stickers delivered (or pick up your stickers in store if you can do so safely)!
Pick up your stickers and enjoy your vote tripling shift!
Still have questions? Email hi@voterev.org
